
We have already created Atlassian Jira free account in our previous post How to create free Atlassian Jira account?, So if you haven’t read it then you must first take a look at before continue with this post.
In this article, we’ll continue from right after where we left off while creating free JIRA account.
So, once your Jira account is created you can click on top left corner button to see all products you own. So, this is the place from where you’ll switch between all the application you have already setup or you can setup through Atlassian.
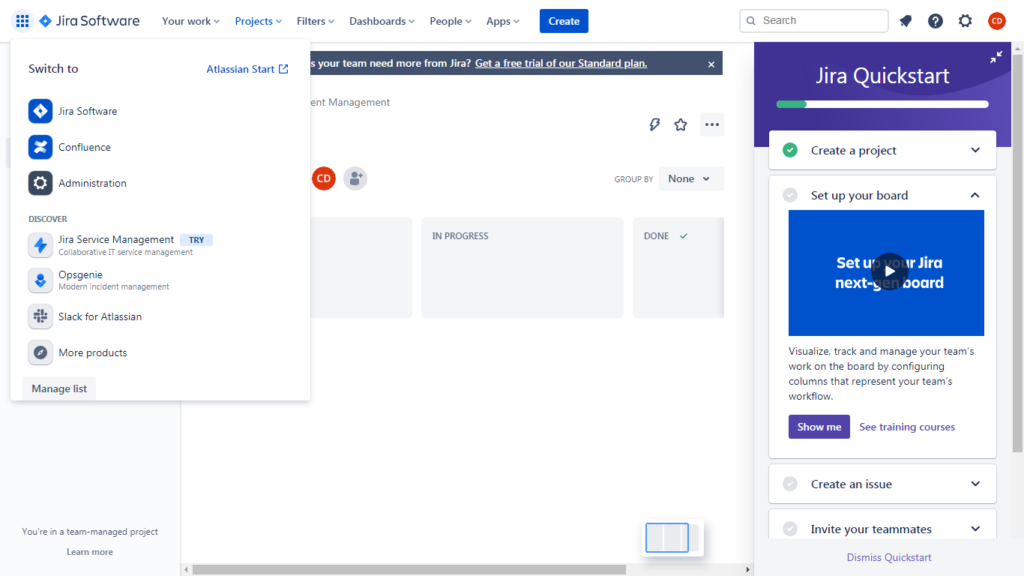
If you see Confluence here, then it’s good, if you don’t see Confluence here then you have to go to confluence site and Get it for free and enter your same credentials as you entered while creating Jira account and setup confluence following the same steps. Remember, all products on Atlassian use same account and within same account all products are being added.
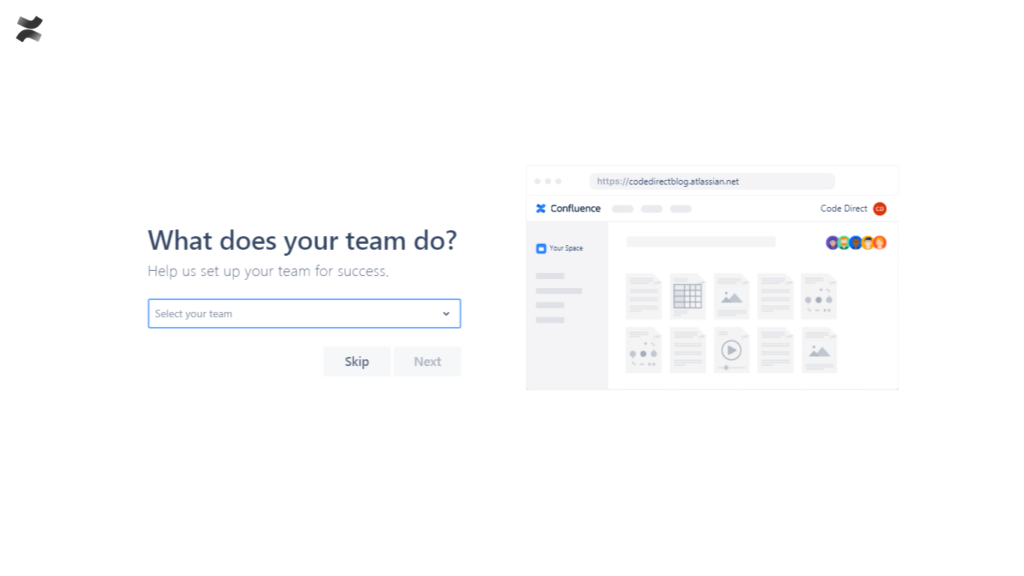
After clicking Confluence, you’ll land on this screen where you will start setup Confluence.
First, you will be asked to enter what your team do? If you want to add what your team do then you can select options or you can totally skip this step. This step will only make your confluence environment for the first time according to the options you choose here or next steps, but it’s okay to skip these steps as they are just steps for on boarding.
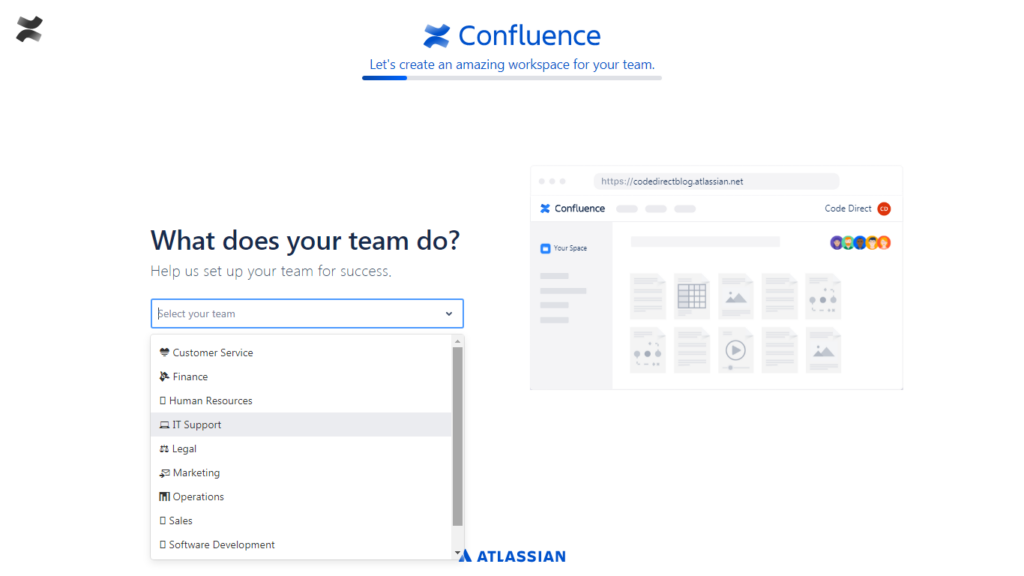
There are multiple options from which you can select or you can give your own. Or you can totally skip this step as well.
On next screen you’ll see next question What’s your role? Also, you can either choose the right option or you can totally skip this step.
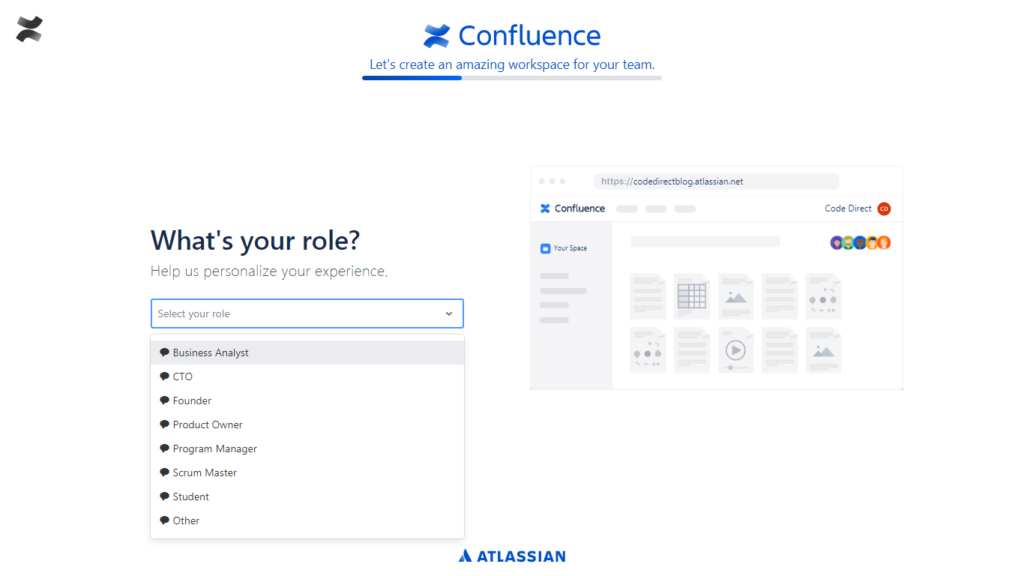
You can select your desired option and continue or skip.
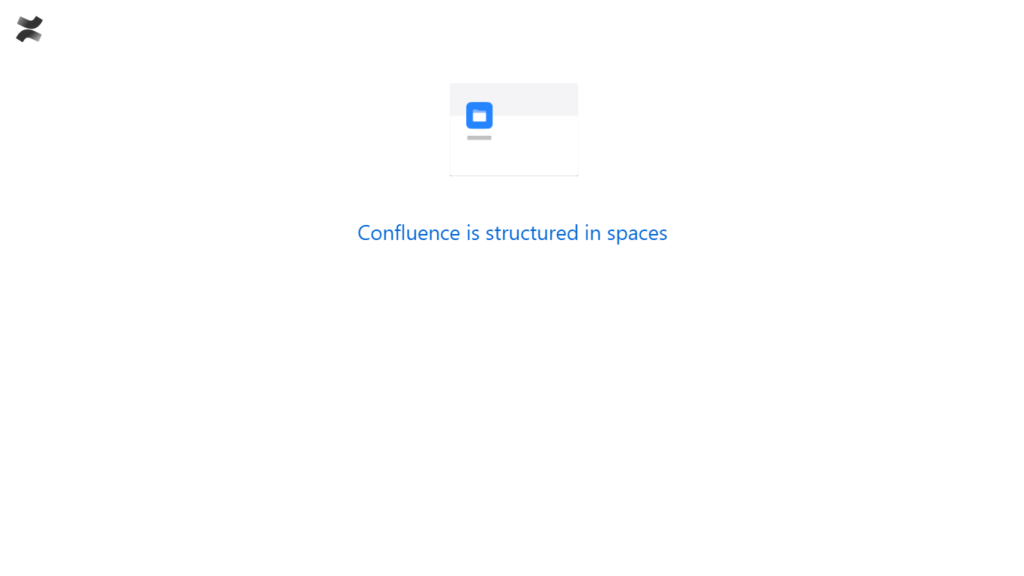
Now this is the most important step in this configuration, here you’ll have to give name to your space. The name you enter here, Atlassian Confluence a space for you automatically after the setup where you will add all your pages and all your team members will collaborate.

Once you enter the name of your space, Atlassian Conluence will create Confluence application account and create space in it for you.
Once automated creation step is done, then you’ll see following setup same as Jira, but you can totally skip these steps or fill them out if you want.
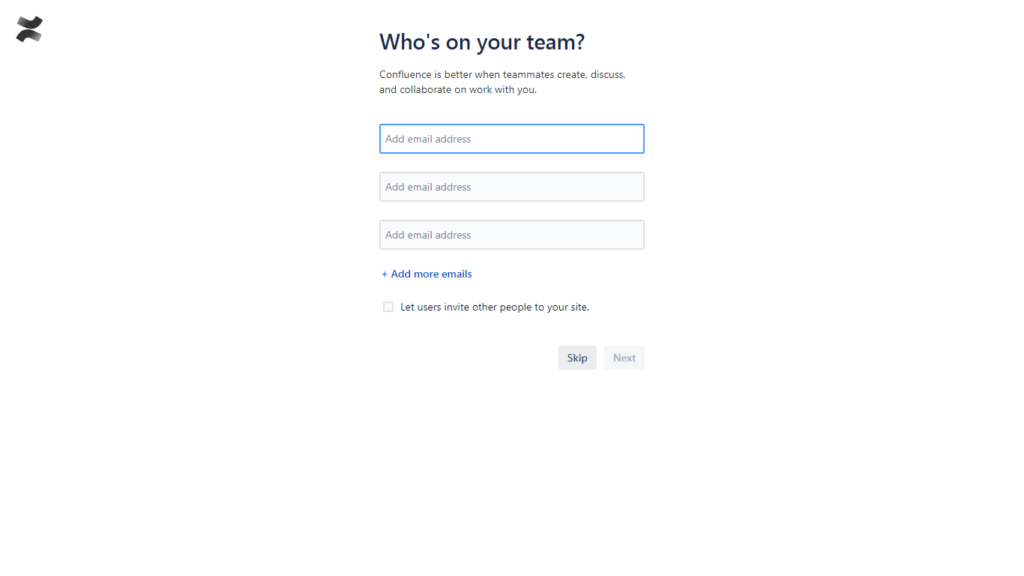
If you have team members email addresses you can enter them here and Atlassian Confluence will take care of inviting them. And once your team members will follow the invitation link they will be added in the space as well. And after this step our Confluence setup is finished, and your Confluence site is ready.
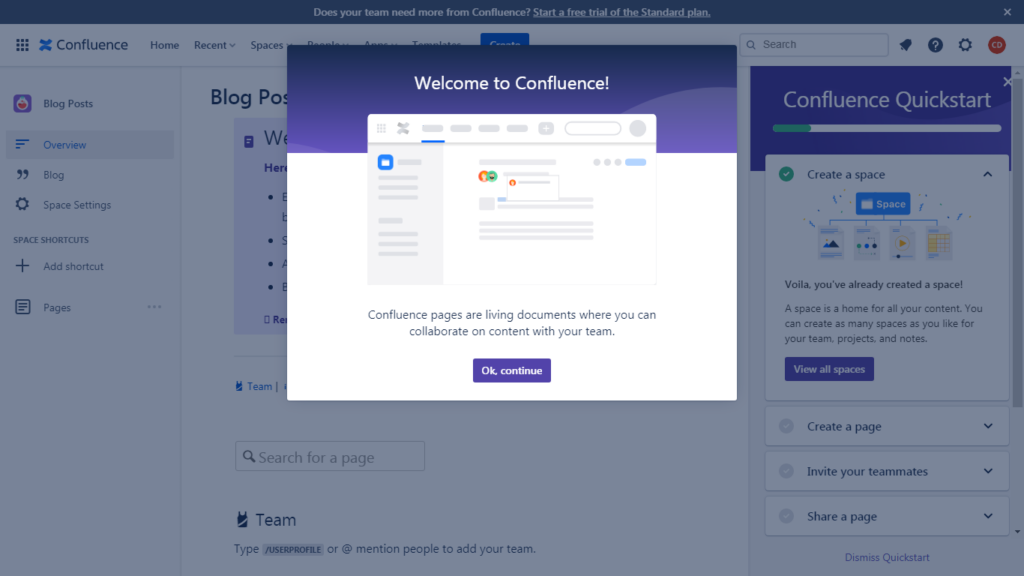
You can now use Confluence and create your pages as you need.
Remember, if you didn’t saw Confluence on top left corner then you have to do a lot more steps than this to setup Confluence site or if you don’t have already a site then you have to go through that steps as well.